§快速开始 Hello World
本章节将快速的带领你领略一下 jetbrick-webmvc 的使用方法和具备的基本功能。
§1. 配置 web.xml
<?xml version="1.0" encoding="UTF-8"?>

<web-app xmlns="http://java.sun.com/xml/ns/javaee"
         xmlns:xsi="http://www.w3.org/2001/XMLSchema-instance"
         xsi:schemaLocation="http://java.sun.com/xml/ns/javaee
                             http://java.sun.com/xml/ns/javaee/web-app_3_0.xsd"
         version="3.0">

    <filter>
        <filter-name>jetbrick-webmvc</filter-name>
        <filter-class>jetbrick.web.mvc.DispatcherFilter</filter-class>
        <init-param>
            <param-name>configLocation</param-name>
            <param-value>/WEB-INF/jetbrick-webmvc.properties</param-value>
        </init-param>
    </filter>
    <filter-mapping>
        <filter-name>jetbrick-webmvc</filter-name>
        <url-pattern>/*</url-pattern>
    </filter-mapping>

</web-app>
§2. 配置 /WEB-INF/jetbrick-webmvc.properties
web.development = true
web.http.encoding = utf-8
web.scan.packages = jetbrick.docs.samples
web.urls.bypass = jetbrick.web.mvc.router.PrefixSuffixBypassRequestUrls
web.urls.router = jetbrick.web.mvc.router.RestfulRouter
web.view.default = jsp
§3. 创建一个 Controller
package jetbrick.docs.demo.controllers;

import jetbrick.web.mvc.action.*;

@Controller
public class HelloController {

    @Action("/hello")
    public String hello(Model model) {
        model.add("name", "jetbrick");
        return "hello.jsp";
    }
}
§4. 创建登录页面 /src/main/webapp/hello.jsp
<!DOCTYPE html>
<html>
<head><meta charset="utf-8" /></head>
<body>
Hello ${name}!
</body>
</html>
§5. 放在 Tomcat 里面运行
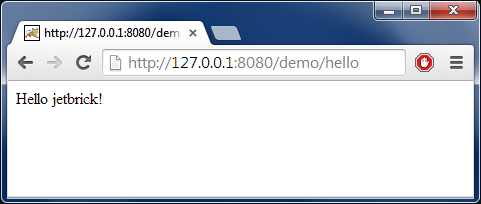
好了,将你的项目部署到 Tomcat 中去,然后运行吧。
打开你的浏览器,输入:http://127.0.0.1:8080/demo/hello